
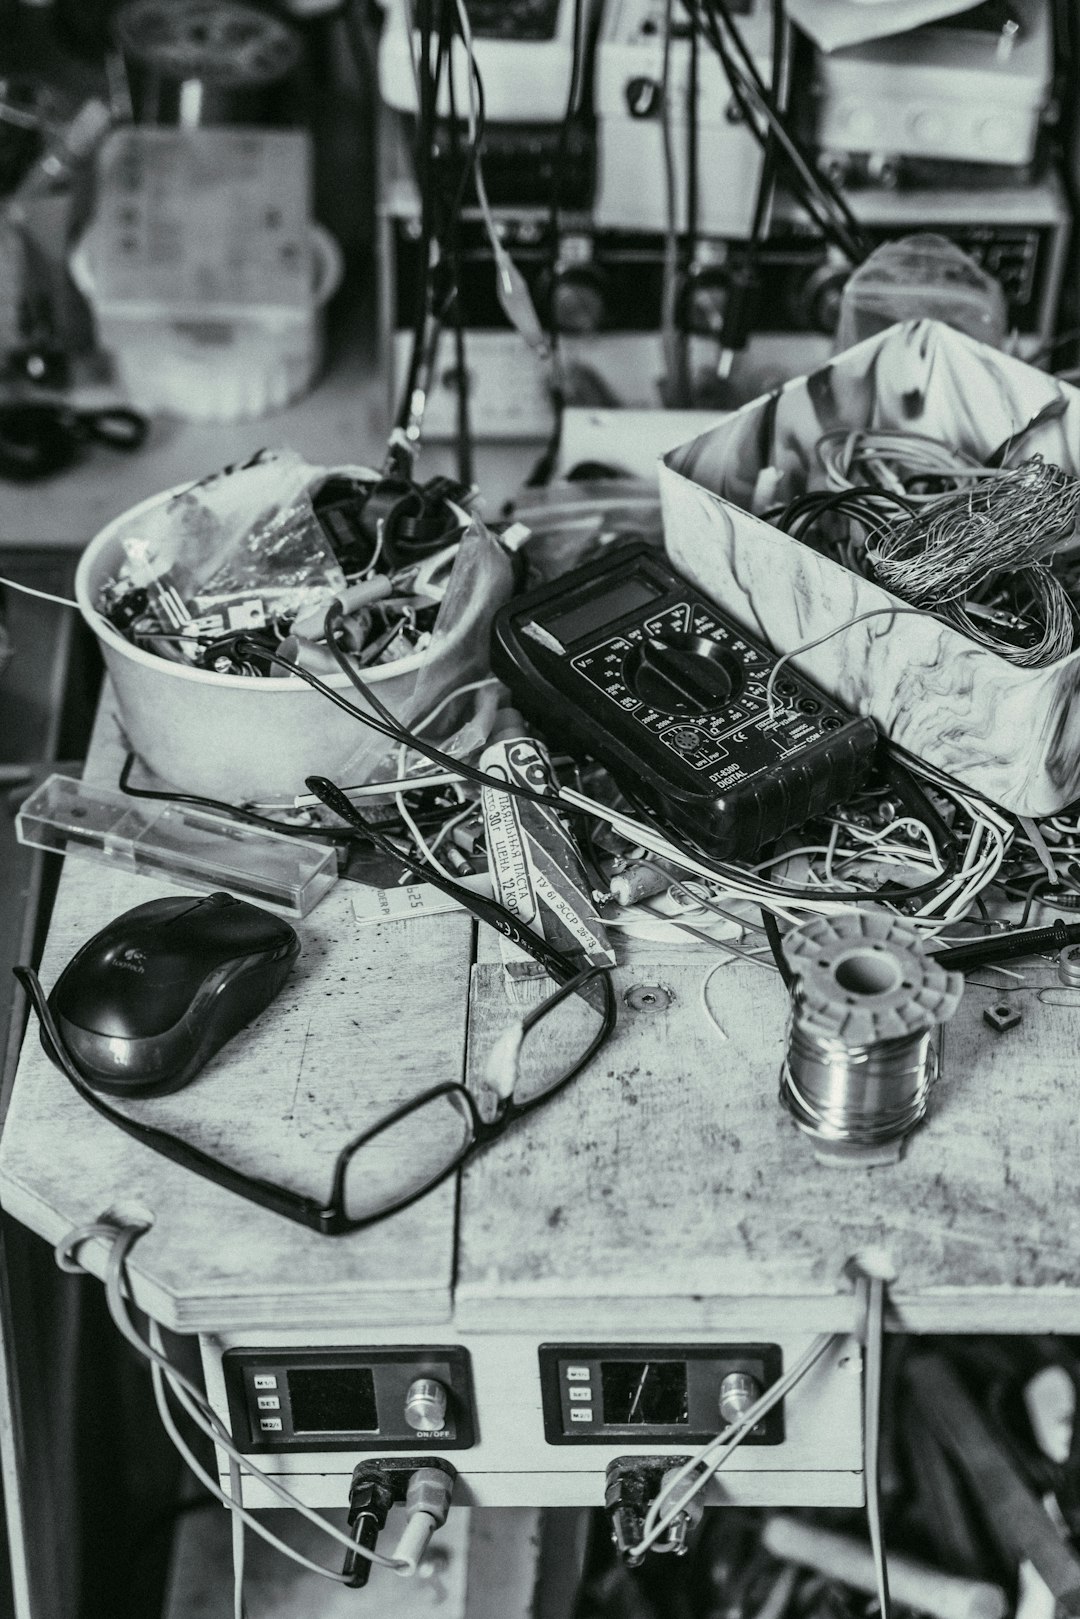
Fixing broken household items often feels intimidating, yet most common malfunctions stem from minor issues that require basic tools and a systematic approach. When a lamp refuses to turn on or a toaster stops heating, replacing the item immediately is rarely necessary. Approaching electronic and mechanical failures with a structured method saves money and reduces environmental waste. Understanding the fundamentals of diagnostic work transforms a frustrating breakdown into a manageable task. This manual serves as a comprehensive beginner friendly troubleshooting and repair guide, designed to build competence through safe practices, logical reasoning, and methodical testing.
Understanding the Diagnostic Mindset
Effective repair work begins long before a screwdriver touches a device. The diagnostic mindset relies on observation, documentation, and elimination. When an appliance fails, rushing to disassemble the housing often leads to lost screws, broken plastic clips, or misaligned components. Instead, observation should dictate the initial phase. Technicians look for obvious physical damage, strange odors, discoloration on circuit boards, or loose connections.
According to guidelines from the Consumer Product Safety Commission, electrical safety must remain the primary priority during any diagnostic procedure. Unplugging devices before inspection prevents accidental shock or further circuit damage. Documenting each step of the disassembly process, whether through digital photographs or organized part trays, ensures that reassembly proceeds smoothly. This disciplined approach separates successful repairs from haphazard attempts that risk permanent destruction of the equipment.
Related Posts
- How to Fix a Dishwasher That Leaves Dishes Dirty After a Cycle
- How to Maintain an Electric Oven for Long-Term Use: A Complete Practical Guide
- How to Install Smart Home Devices Step by Step: A Complete Guide
- The Definitive Guide to Preventive Maintenance Tips for Home Appliances
- The Ultimate Complete Installation Guide for Home Appliances
Essential Tools for the Beginner Workbench
Building a functional workspace requires only a modest investment in quality hand tools. Acquiring the right instruments ensures that fasteners do not strip and delicate wires remain undamaged. The following items form the core kit for any repair enthusiast:
- Insulated Screwdrivers: A set featuring various Phillips and flathead sizes with rated insulation handles protects against residual electrical charges.
- Digital Multimeter: This vital testing device measures voltage, current, and resistance, allowing users to verify whether electricity flows correctly through a circuit.
- Precision Tweezers and Pliers: Needle-nose pliers and fine-tip tweezers assist in routing wires, retrieving dropped hardware, and manipulating tight spaces.
- Soldering Iron and Desoldering Pump: Essential for repairing broken joints on circuit boards, a temperature-controlled iron provides stable heat for electrical connections.
- Flashlight or Headlamp: Adequate illumination is critical for inspecting dark internal cavities and reading microscopic component markings.
Common Failure Points in Household Electronics
Most electronic and mechanical failures occur at predictable stress points. Power cords, mechanical switches, solder joints, and fuses represent the vast majority of breakdown locations. Recognizing these vulnerabilities allows troubleshooters to inspect high-probability areas first rather than guessing blindly.
Power cords endure constant bending, twisting, and pulling, which can fracture internal copper strands while leaving the outer plastic insulation intact. Switches experience mechanical wear from repeated actuation, leading to internal oxidation or spring failure. Fuses act as sacrificial safety devices designed to break the circuit when current exceeds safe levels, protecting more expensive components downstream. Testing these specific elements isolates faults quickly and accurately.
Diagnostic Comparison of Common Household Failures
| Device Category | Common Symptom | Likely Root Cause | Recommended Diagnostic Tool |
|---|---|---|---|
| Small Kitchen Appliances | Complete lack of power | Blown thermal fuse or frayed cord | Digital Multimeter |
| Audio Equipment | Intermittent sound output | Loose internal wire or oxidized jack | Visual Inspection / Contact Cleaner |
| Lighting Fixtures | Flickering or failure to ignite | Loose bulb base or faulty switch | Insulated Screwdriver / Multimeter |
| Power Tools | Motor sparking or stalling | Worn carbon brushes | Visual Inspection / Replacement Brushes |
Step-by-Step Troubleshooting Methodology
A systematic process prevents wasted effort and accidental damage. Applying a step-by-step workflow ensures that every potential cause receives proper evaluation before moving on to complex interventions.
Step 1: Verification and Power Isolation
Verify that the device receives power by testing the wall outlet with a known working lamp or a dedicated voltage detector. If the outlet functions correctly, isolate the device by unplugging it completely. Never perform internal inspections while a cord remains connected to a live electrical source.
Step 2: Visual and Olfactory Inspection
Examine the exterior housing for cracks, impact marks, or melting. Open the device enclosure if service panels permit user access. Look for bulging capacitors, charred resistors, or broken solder pads on printed circuit boards. Noticeable burning odors often point directly to failed components that require replacement.
Step 3: Continuity and Resistance Testing
Set a digital multimeter to the continuity or ohms setting. Test fuses, switches, and power cords to verify an uninterrupted electrical path. A reading of zero ohms indicates a healthy connection, whereas an infinite reading signifies an open circuit that requires replacement or repair.
Step 4: Component Repair or Replacement
Desolder failed components or replace modular assemblies according to manufacturer specifications. Ensure that replacement parts match original ratings for voltage, wattage, and tolerance to maintain operational safety and performance integrity.
Safety Protocols and Risk Management
Working with electricity and mechanical assemblies carries inherent risks that demand strict adherence to safety protocols. Disregarding basic precautions can lead to severe injury, property damage, or electrical fires.
Capacitors in power supplies can store lethal voltages even after a device is unplugged and disconnected from the mains supply. Safe discharge procedures utilizing appropriate resistors prevent accidental shocks. Personal protective equipment, such as safety glasses, shields eyes from flying debris during spring tension releases or wire cutting. Maintaining a clean, dry, and well-lit workspace minimizes hazards and enhances focus during intricate repair procedures.
Sustainable Living Through Repair Culture
Embracing equipment maintenance contributes significantly to broader environmental sustainability goals. Discarding functional items with minor faults accelerates landfill accumulation and increases the demand for raw resource extraction. Cultivating repair skills empowers individuals to extend the operational lifecycle of everyday goods. This practical shift reduces electronic waste generation and promotes a circular economy where products are designed for longevity, maintenance, and eventual recycling rather than premature obsolescence.
Frequently Asked Questions
What is the safest way to test a suspected faulty power cord?
Testing a power cord requires a digital multimeter set to continuity mode. Place one probe on a prong of the plug and the corresponding terminal at the device end. A continuous beep indicates a healthy conductor, while silence reveals an internal break.
Why do electronic components fail over time?
Thermal stress, electrical surges, mechanical vibration, and component aging are the primary drivers of electronic degradation. Heat accelerates the drying of electrolytic capacitors and weakens solder joints through expansion and contraction cycles.
Is soldering difficult for beginners to learn?
Basic soldering requires patience, proper temperature control, and adequate ventilation. Practicing on scrap circuit boards helps develop the muscle memory needed to create shiny, secure connections without bridging adjacent pins.
How can someone determine if a fuse is blown?
Visual inspection often reveals a broken wire filament inside a glass fuse tube. For opaque or ceramic fuses, a multimeter continuity test provides definitive confirmation of internal failure.
Conclusion
Mastering maintenance and repair techniques empowers individuals to take control of their possessions rather than relying on constant replacement cycles. This beginner friendly troubleshooting and repair guide outlines the fundamental principles required to diagnose faults safely, utilize essential tools effectively, and execute lasting fixes. By prioritizing safety, methodical observation, and continuous learning, anyone can develop the confidence needed to restore broken equipment. Embracing this practical skill set fosters self-reliance, preserves financial resources, and supports sustainable resource management in daily life.
Featured Image Credit: Generated/Sourced via Unsplash.
Disclaimer: This article is AI-generated for informational and educational purposes. While we strive to provide high-quality context and authority, the content should not be used as professional advice. The author/website assumes no liability for external links or factual omissions.